
Create Cinematic Viral Hooks That Stop the Scroll — Using AI Transformation
Want to create viral video hooks like those dramatic AI transformation intros — avatar to demon, demon to astronaut — all cinematic and seamless? In this tutorial, I’ll show you exactly how to do it using Seedream 4.0 and Seedence 1.0 Pro on JXP.com, with voiceover from Google AI Studio and final editing in CapCut.
- Create Cinematic Viral Hooks That Stop the Scroll — Using AI Transformation
- Tools You’ll Need
- What Is JXP.com?
- The Full Workflow Overview
- Step 1 — Transform Your AI Avatar with Seedream 4.0
- Step 2 — Create Transformation Videos with Seedence 1.0 Pro
- Access Seedence 1.0 Pro:
- Transformation 1 — Normal Avatar → Demon:
- Transformation 2 — Demon → Astronaut:
- Transformation 3 — Astronaut → Normal Avatar:
- Step 3 — Generate Your Voiceover with Google AI Studio
- Step 4 — Lip-Sync Each Character with HeyGen
- Step 5 — Edit and Stitch Everything in CapCut
- Timeline Structure:
- For Each Transformation Clip:
- Add Sound Effects to Transformations:
- Change Character Voices:
- Final Polish:
- Bonus — Sora 2 Is Now on JXP.com
- Full Workflow Summary
- AI Tools Available on JXP.com
🎬 Watch the full tutorial here:
💡 Links to all tools used are in the video description and pinned comment.
Tools You’ll Need
- JXP.com — platform hosting Seedream 4.0, Seedence 1.0 Pro, CDANCE 1.0 Pro, Sora 2, and more
- Google AI Studio (aistudio.google.com) — for voiceover generation
- HeyGen — for lip-syncing your AI avatar (full HeyGen tutorial on BigWizTV)
- CapCut — for editing, transformation effects, voice effects, and sound effects
What Is JXP.com?
JXP.com is an AI tools platform that hosts a wide variety of models in one place, including:
- Infinite Talk AI
- Qwen 2.5
- HeyLuo 2.3
- Sora 2
- VEO 3.1
- CDANCE 1.0 Pro
- VEO 3
- Nano Banana
- Seedream 4.0 and 3.0
- CDEDIT 3.0
- And many more
For this tutorial, the focus is on Seedream 4.0 (for image transformation) and Seedence 1.0 Pro (for first-to-last frame video transformation).
The Full Workflow Overview
Here’s the complete process for creating a viral transformation hook:
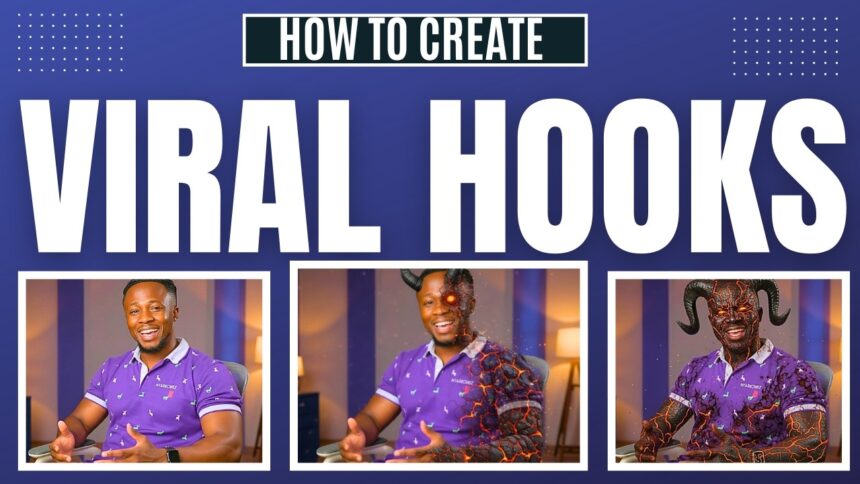
- Transform your AI avatar into different characters (demon, astronaut) using Seedream 4.0
- Create transformation videos between each character using Seedence 1.0 Pro (first frame → end frame)
- Generate a voiceover with Google AI Studio
- Lip-sync each character clip using HeyGen
- Edit and stitch everything together in CapCut with sound effects and voice effects
Step 1 — Transform Your AI Avatar with Seedream 4.0
Access Seedream 4.0:
- Go to JXP.com and create a free account
- Click the hamburger menu and select Seedream 4.0
Transform to a Demon:
- Click “Click to Upload” and upload your AI avatar image
- Type your transformation prompt: “Turn him into a demon with horns and cracked skin”
- Select your resolution — 2K or 4K
- Set aspect ratio — 16:9 for YouTube / 9:16 for Shorts / 1:1 for social media
- Click Generate Images
Once done, download your demon image. If the result isn’t right, tweak the prompt and regenerate.
Transform to an Astronaut:
Using the same uploaded avatar image:
More EV News

- Change the prompt to: “Turn him into an astronaut”
- Click Generate Images again
Download the astronaut image. You now have three images ready:
- ✅ Normal AI Avatar
- ✅ Demon Version
- ✅ Astronaut Version
Step 2 — Create Transformation Videos with Seedence 1.0 Pro
Seedence 1.0 Pro lets you create videos using a start frame and end frame — the AI generates a smooth transition between the two images.
Access Seedence 1.0 Pro:
- Click the hamburger menu and select Seedence 1.0 Pro
- Look for the “Add End Frame” feature
Transformation 1 — Normal Avatar → Demon:
- Upload your normal AI avatar as the first frame
- Upload your demon image as the end frame
- Prompt: “Transform him from a normal person into a demon with horns and cracked skin”
- Resolution: 1080p (highest available)
- Duration: 5 seconds (keeps it tight and punchy for a hook)
- Click Generate
Download the transformation video when done.
Transformation 2 — Demon → Astronaut:
- Clear the previous images
- Upload the demon image as the first frame
- Upload the astronaut image as the end frame
- Prompt: “Transform him from a demon with horns and cracked skin into an astronaut”
- Keep all other settings the same
- Click Generate and download
Transformation 3 — Astronaut → Normal Avatar:
- Clear the images again
- Upload the astronaut image as the first frame
- Upload the normal AI avatar as the end frame
- Prompt: “Transform him from the astronaut to a normal person”
- Click Generate and download
You now have all 3 transformation clips ready.
Step 3 — Generate Your Voiceover with Google AI Studio
- Go to Google AI Studio (aistudio.google.com)
- Input your voiceover script — what you want your avatar to say in the hook
- Select a voice actor
- Click Run and download the audio file
Step 4 — Lip-Sync Each Character with HeyGen
Use HeyGen to lip-sync each character version (normal avatar, demon, astronaut) with your voiceover audio.
💡 A full HeyGen tutorial is available on the BigWizTV YouTube channel — check that out for the complete walkthrough.
Upload each character image, attach the corresponding voiceover section, and generate the lip-synced video for each one.
Step 5 — Edit and Stitch Everything in CapCut
Open CapCut and create a new project. Here’s the exact editing sequence:
Timeline Structure:
[Normal Avatar (lip-synced)] → [Avatar-to-Demon Transformation] → [Demon (lip-synced)] → [Demon-to-Astronaut Transformation] → [Astronaut (lip-synced)] → [Astronaut-to-Avatar Transformation]For Each Transformation Clip:
- Place the transformation video between the two character clips
- Trim any unnecessary frames from the start or end
- Speed it up slightly to make the transition feel smooth and seamless
Add Sound Effects to Transformations:
- Select the transformation clip
- Go to Audio > Sound Effects
- Search for a matching effect — dark, cinematic, or supernatural sounds work well
- Place the sound effect to sync with the visual transformation
Change Character Voices:
This is the most creative step — give each character a distinct voice:
For the Demon clip:
- Select the demon lip-sync clip
- Go to Audio Effects > Voice Character
- Select a demon or giant voice effect
- Increase the volume slightly for impact
For the Astronaut clip:
- Select the astronaut lip-sync clip
- Go to Audio Effects > Voice Character
- Select a space-like or robotic voice effect
For the Normal Avatar: Keep the original voice as generated from Google AI Studio
Final Polish:
- Fine-tune the timing so each transformation hits at the right moment
- Make sure audio levels are balanced across all clips
- Export at 1080p
Bonus — Sora 2 Is Now on JXP.com
JXP.com has officially added Sora 2 to their tool collection — including the Cameo feature for featuring real public figures.
How to Use Sora 2 on JXP:
- Click the hamburger menu and select Sora 2
- Choose between Sora 2 Base or Sora 2 Pro
- For Cameo style, add @ before the person’s name in your prompt
- Example: “@Jake Paul riding a horse in a futuristic city”
- Set Aspect Ratio: Landscape (for YouTube)
- Set Resolution: Highest available
- Set Duration: 10 or 15 seconds
- Click Generate
Full Workflow Summary
| Step | Tool | What It Does |
|---|---|---|
| 1 | Seedream 4.0 (JXP.com) | Transform avatar into demon, astronaut |
| 2 | Seedence 1.0 Pro (JXP.com) | Create first-to-last frame transformation videos |
| 3 | Google AI Studio | Generate voiceover |
| 4 | HeyGen | Lip-sync each character version |
| 5 | CapCut | Edit, add sound effects, voice effects, export |
| Bonus | Sora 2 (JXP.com) | Generate Cameo-style videos with public figures |
AI Tools Available on JXP.com
| Tool | Category |
|---|---|
| Seedream 4.0 / 3.0 | Image generation and editing |
| Seedence 1.0 Pro | First-to-last frame video transformation |
| CDANCE 1.0 Pro | Video generation |
| Sora 2 / Sora 2 Pro | Text to video (with Cameo) |
| VEO 3 / VEO 3.1 | Google video generation |
| Nano Banana | High accuracy image generation |
| CDEDIT 3.0 | Video editing AI |
| HeyLuo 2.3 | Video generation |
Found this helpful? Subscribe to BigWizTV on YouTube for more AI video tutorials. Drop a comment — what character transformation would you create first?